

How To Draw A Horned Lizard Step By Step
The cadger is a reptile that is peculiarly distinguished for its long trunk and tail, four legs with five toes each, and rough scaly skin.
There are over 6,000 species of lizards, ranging across all continents all around the globe except Antarctica.
So, the one you often see wandering around the walls of your house is but one of the many species of lizards.
Considering of the cadger's unique concrete features and characteristics, they have long been a staple character in many animated films.
Some of the almost notable lizard characters are Pascal from Tangled, Ruff from Blinky Pecker, and Rango.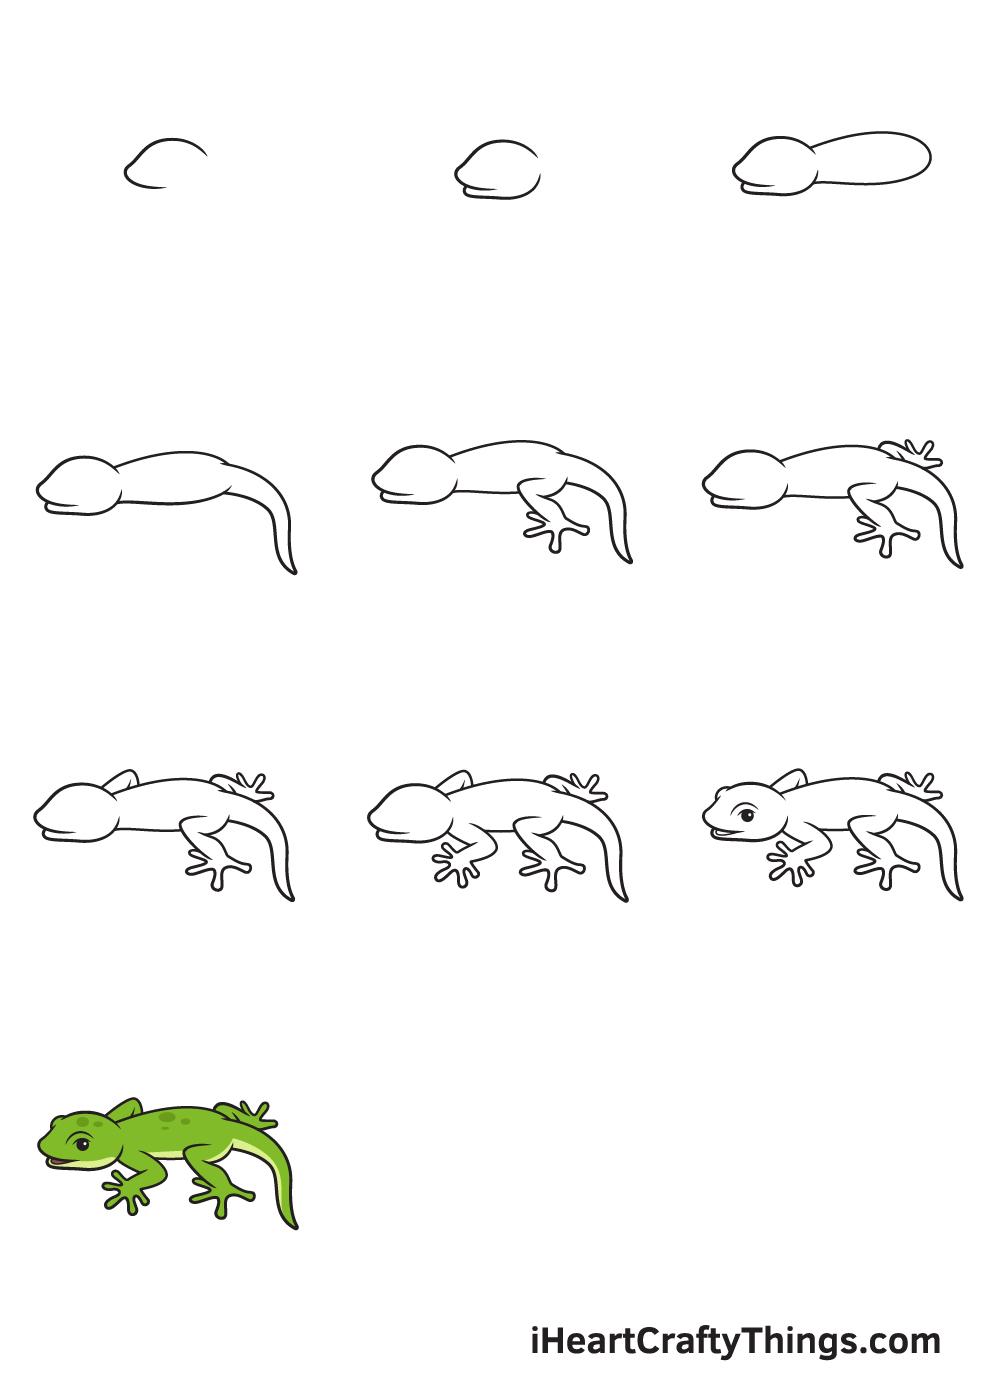
They are as well an incredible subject to depict, creating a huge need for a free lizard drawing tutorial.
To fulfill our readers' wishes, we have crafted a footstep-past-step tutorial on how to describe a cadger, condensed into ix digestible steps.
You can follow these steps whether y'all want to draw a realistic looking cadger or an animated one.
And so, become ahead and ready a piece of newspaper and grab your favorite cartoon tools and let'southward start drawing! Accept fun!
What's in this Blog Post
- How to Depict a Lizard — Let's get started!
- Step 1
- Stride 2 — Describe an Outline of the Cadger's Head
- Step 3 — Create a Crude Sketch of the Lizard's Torso
- Step 4 — Now, Depict a Tail Attached to the Body
- Step 5 — Then, Draw the Lizard's Right Hind Leg
- Step 6 — Now, Draw the Lizard's Left Hind Leg
- Pace 7 — Next, Draw the Lizard's Left Front end Leg
- Pace 8 — Complete All Four Legs of the Lizard
- Stride nine — Now, Draw the Lizard's Facial Features
- Your Lizard Drawing is Complete!
How to Draw a Lizard — Let'south get started!
Pace ane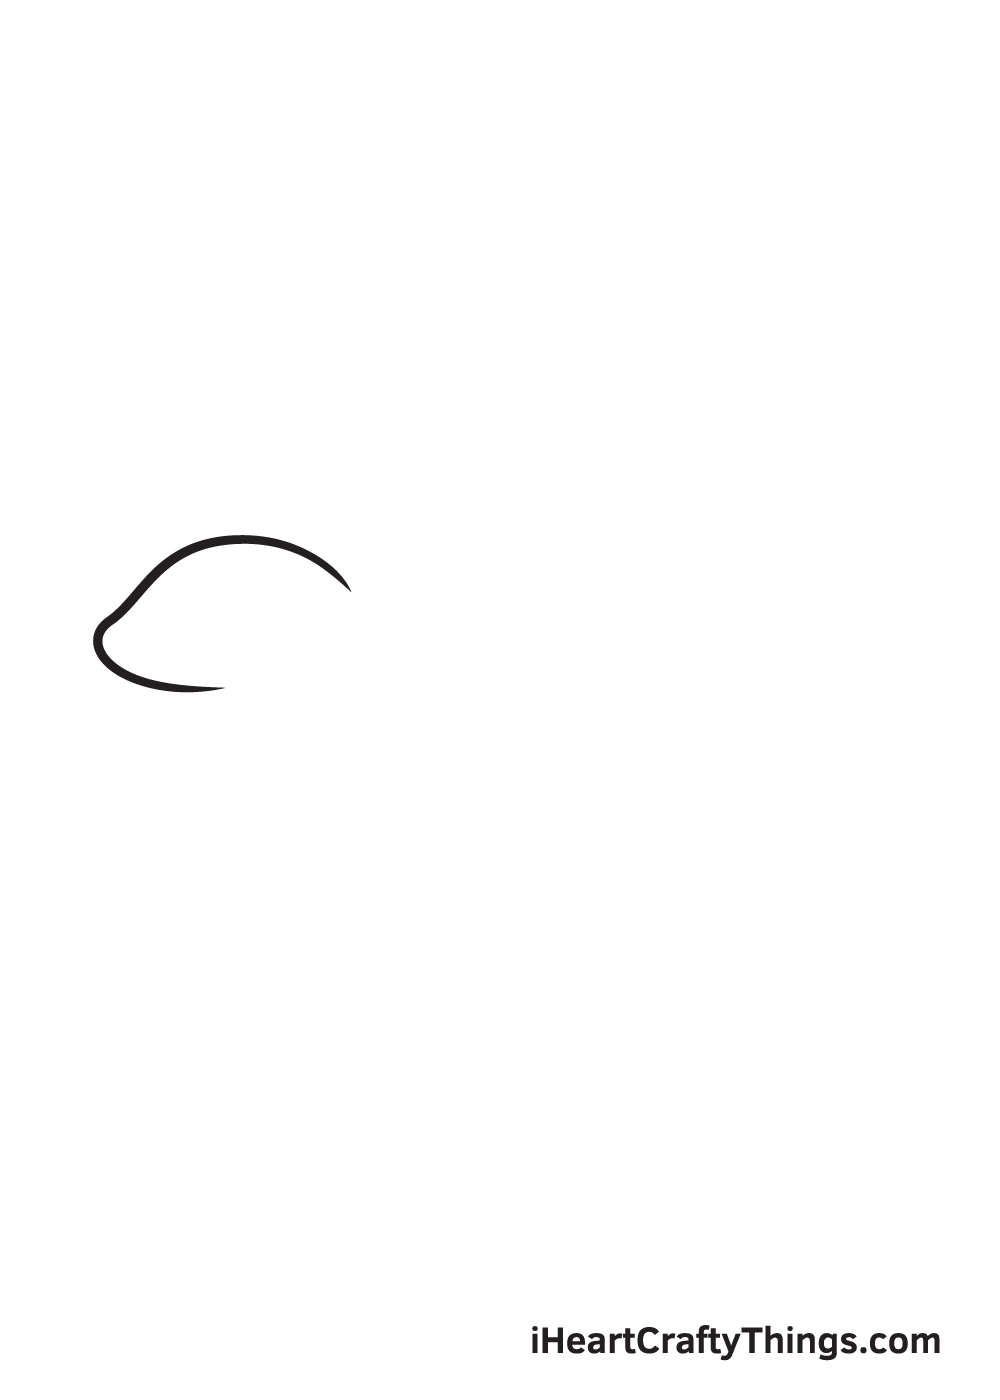
When drawing animals, starting from its head and working your way towards its legs is the key. And so, that is exactly what we volition be doing in this step.
Draw an outline of the lizard'southward head on the spot where you want it to exist facing. For example, if you lot want information technology facing towards the left, and so draw the outline on the left side of your newspaper, as shown in the analogy.
Step two — Draw an Outline of the Lizard's Head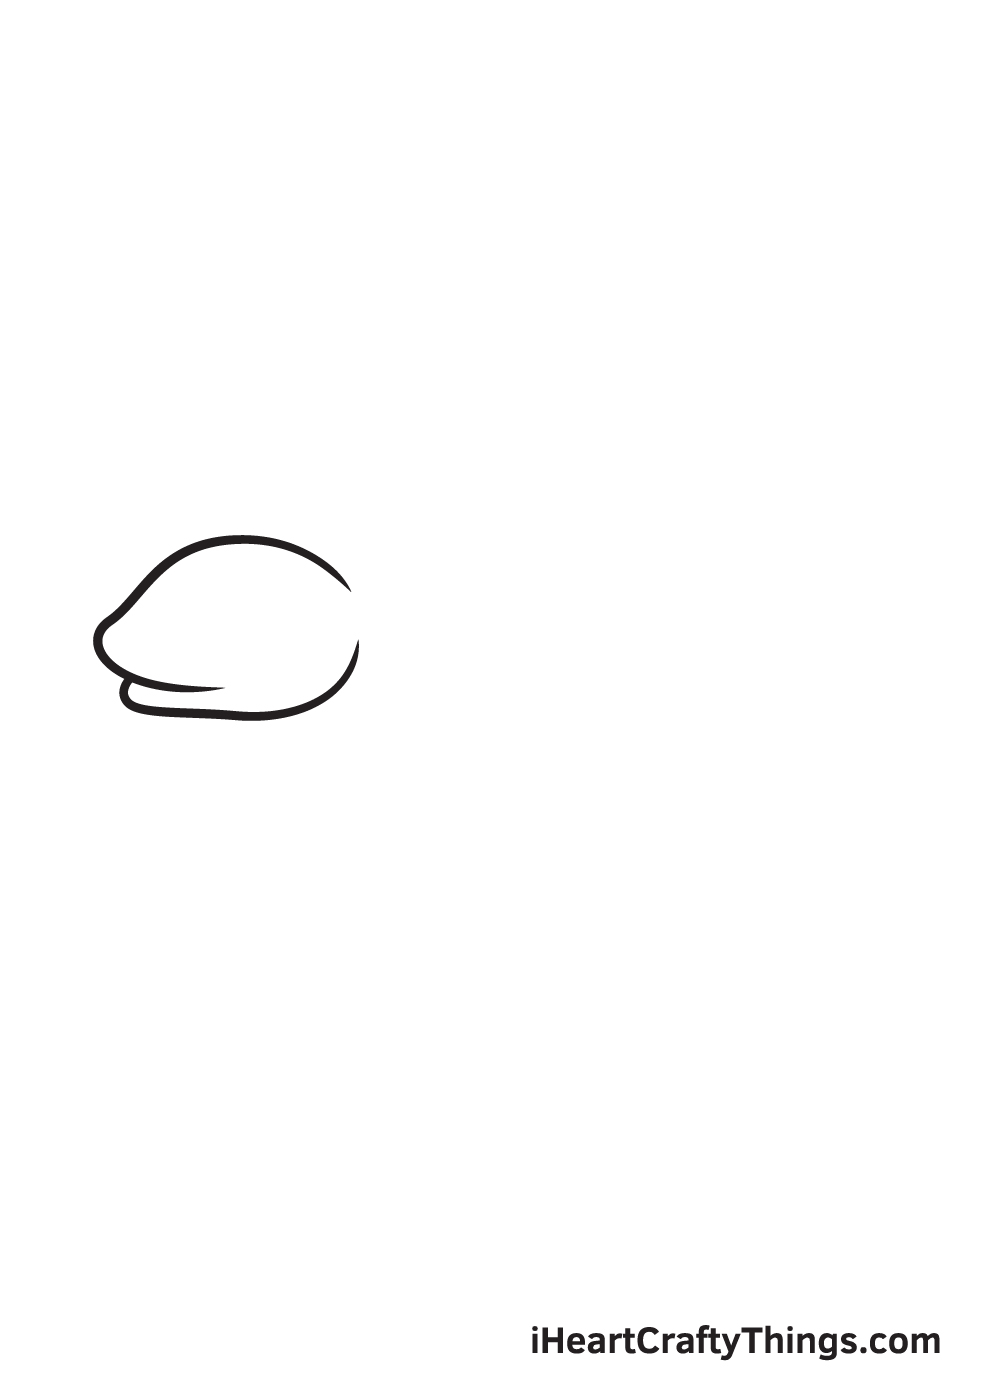
Extend the lines of the outline nosotros drew in the previous stride to fully structure the head of the lizard. Don't forget to draw a line overlapping at the bottom inside the head to create the cadger'southward singled-out pointed mouth.
Remember, both the upper lip and the lower lip of the cadger must be slightly pointed. Use the analogy every bit a guide to assistance you lot form the lizard'south oral fissure quickly and hands.
Footstep 3 — Create a Crude Sketch of the Lizard's Body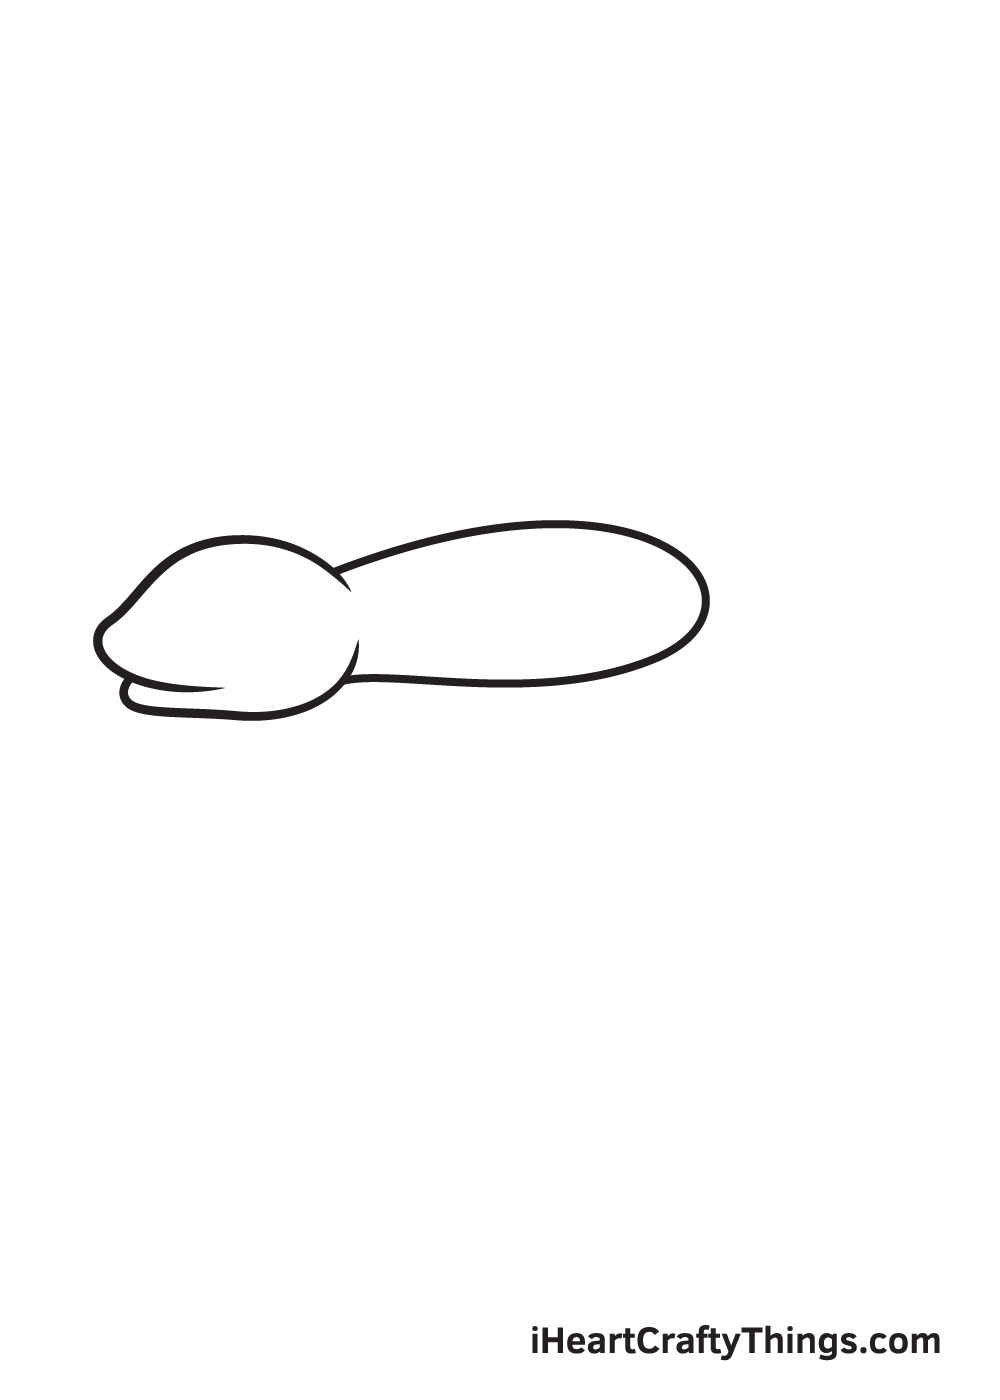
Depict an elongated oval shape attached to the head of the cadger to outline its body. While you're at it, don't hesitate to draw diverse shapes and patterns on the surface of the lizard's skin if you're feeling a bit more than artistic! Did you know that some lizards practice take distinct patterns imprinted on their skin?
Avoid pressing down likewise hard with your pencil when drawing an outline. It's important to sketch with light strokes so you can easily erase some unnecessary lines from the outline afterward.
Step 4 — Now, Describe a Tail Attached to the Trunk
To structure the tail of the lizard, draw an elongated narrow shape with a pointed tip emerging from the lesser back of the lizard'south body.
Deport in listen that the tail should be thick at the top and gradually get thinner and thinner on the tip, equally shown in the analogy.
Footstep 5 — Then, Draw the Cadger's Right Hind Leg
Structure the lizard's correct hind leg by drawing an angled line with four visible toes at the bottom. Make sure to draw the leg in a 45-caste angle to make it look like the cadger is crawling.
Lizards typically accept v toes on each leg. Just in this case, only four of its toes are visible. Go along in mind that each toe of the leg should take rounded tips, similar to the analogy shown above.
Step 6 — Now, Draw the Lizard'due south Left Hind Leg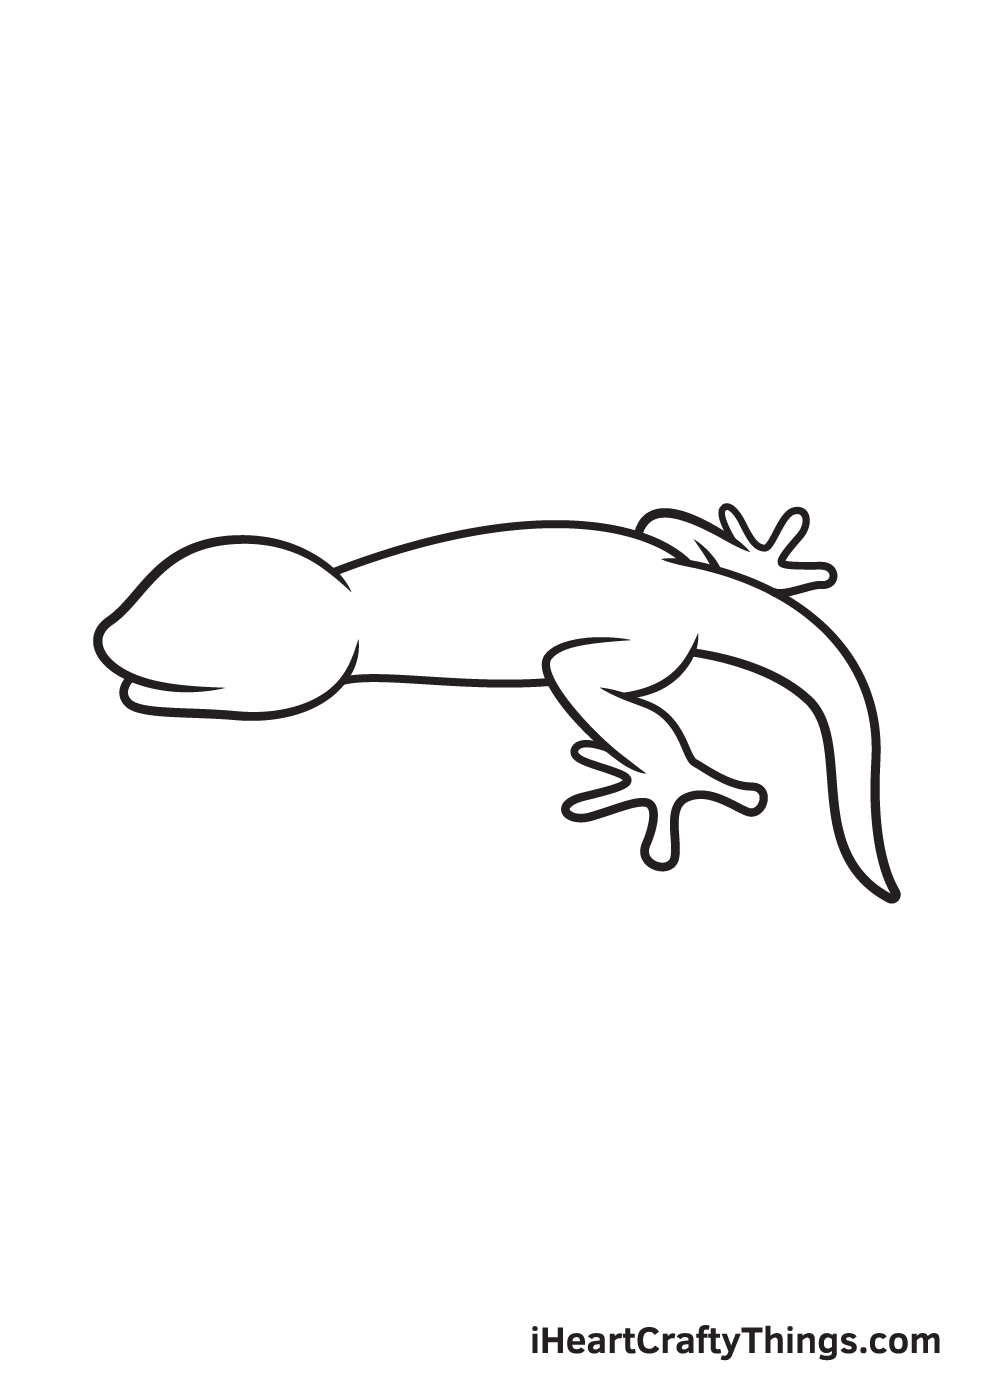
At present, draw the hind leg on the contrary side by cartoon a curved line with three visible toes attached to it.
Since the lizard is fatigued sideways, the hind leg on its right side volition not be fully visible, as shown in the illustration.
Footstep vii — Next, Draw the Lizard's Left Front end Leg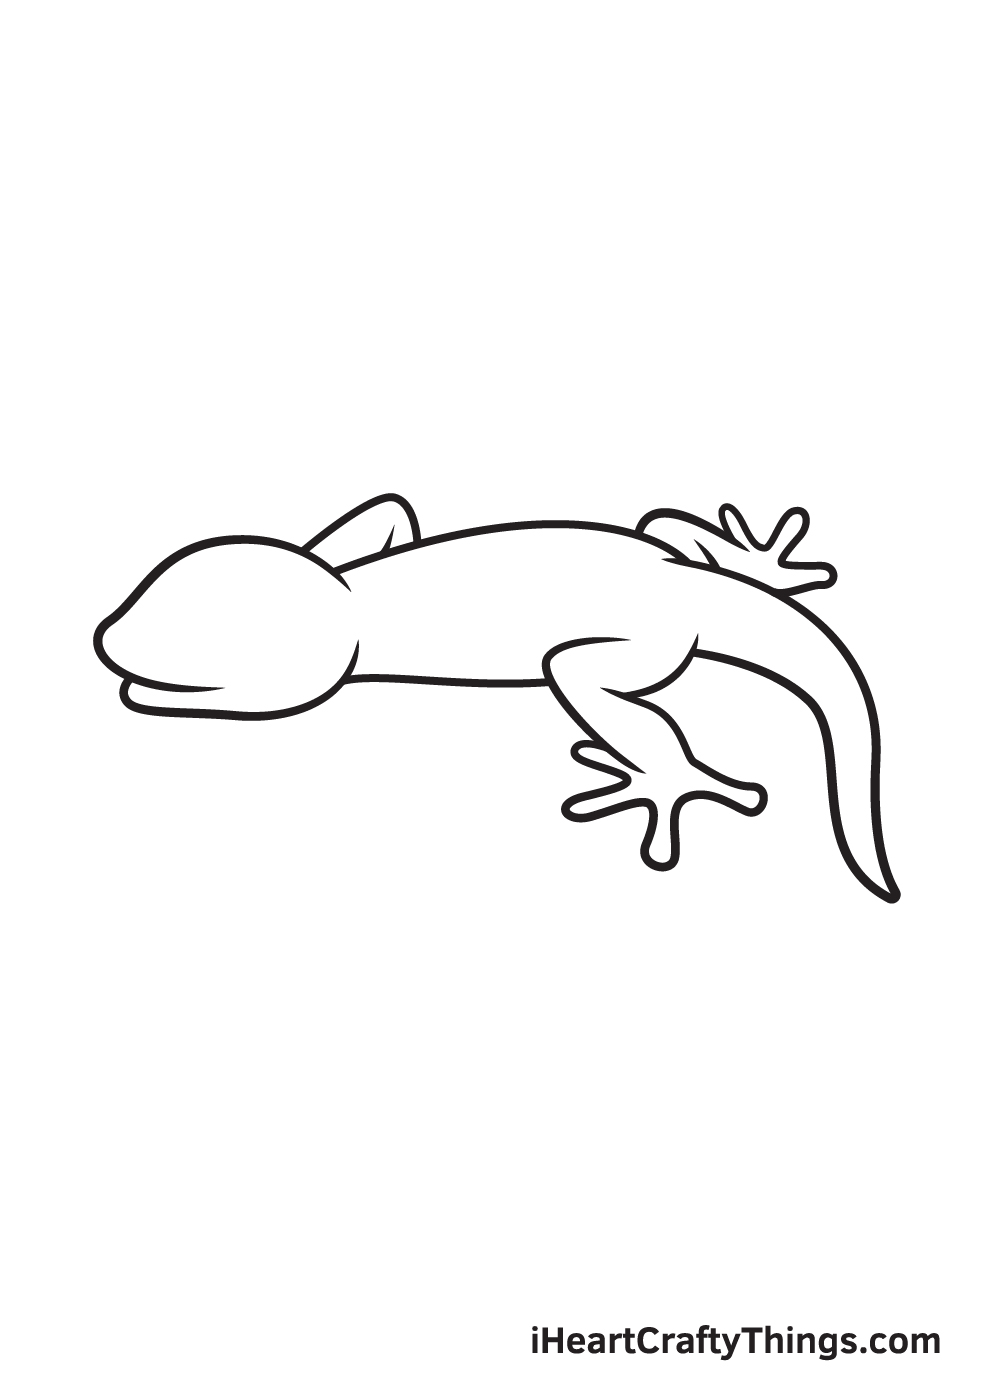
Depict another leg at the front of the lizard'due south body. Like to the hind leg we drew in the previous stride, the leg must be in a 45-degree angle.
This time, yet, the bending of the leg should exist facing towards the rights side, as seen in the illustration above.
Step eight — Complete All Four Legs of the Cadger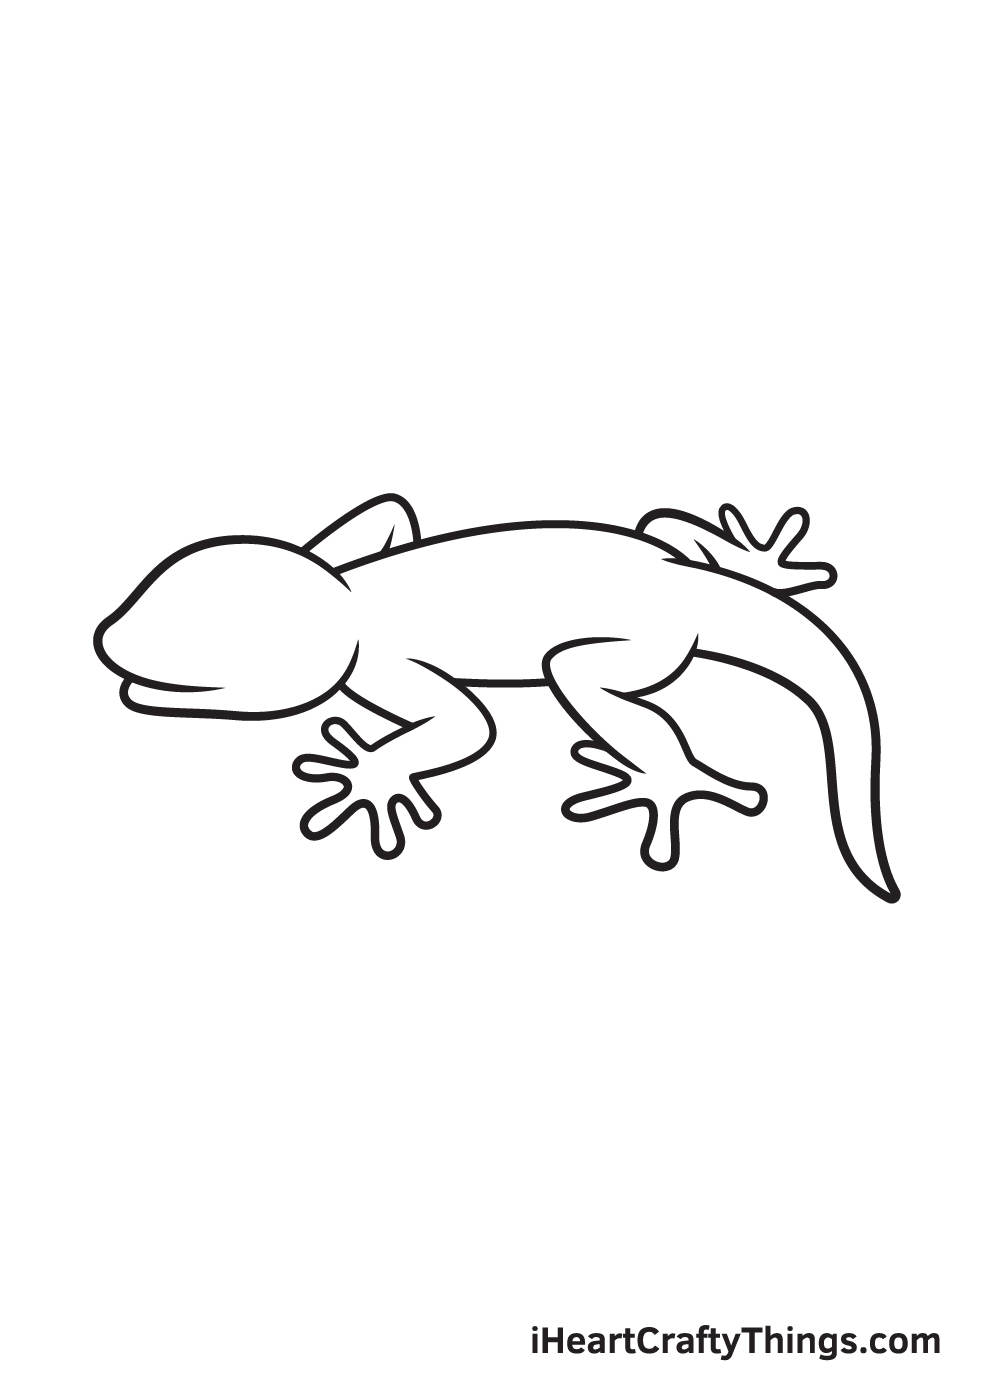
On the reverse side, draw a curved triangular shape above the space in between the lizard's head and its body.
At that place's no need to draw the fingers or the toes in this step since it's covered by the body of the lizard, thus it'south non visible.
At this bespeak, all four legs of the lizard should now exist complete.
Step 9 — Now, Draw the Cadger's Facial Features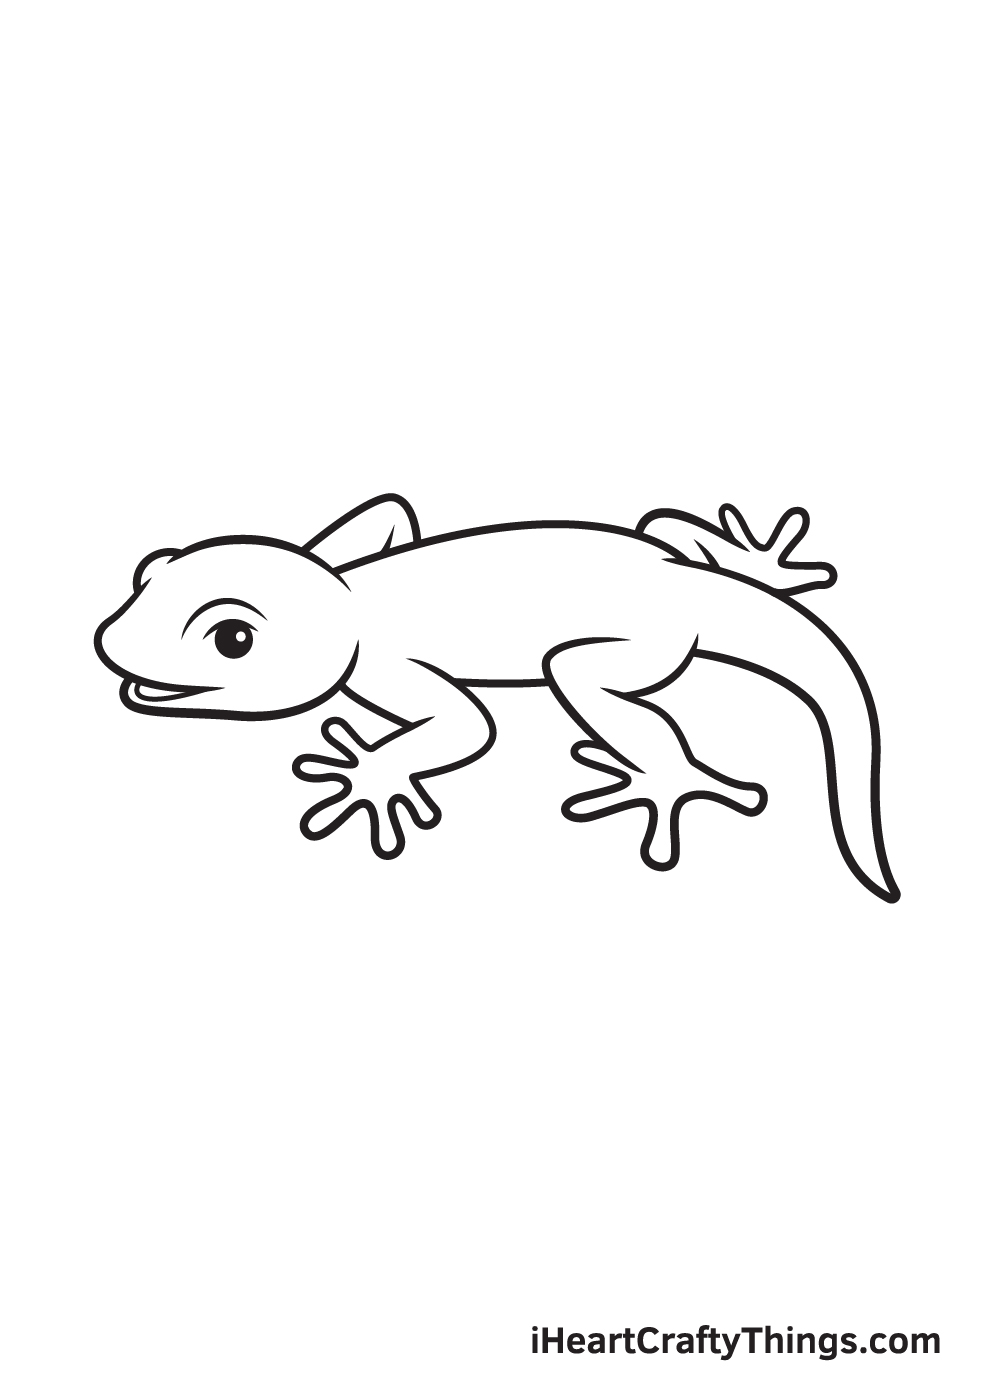
Make your lizard look happy by adding the facial features. Start by drawing a curved line on both sides of the face to create the jutting eye socket—one of the nearly distinct physical features of a lizard.
Correct underneath the eye socket, draw a circle with another tiny circle within to create the center. And then, shade the entire optics except for the small circle inside. This creates a dramatic "sparkling eyes" effect.
Lastly, draw a curved line underneath the roof of the lizard's mouth. This creates an illusion of the tongue, making it look like the lizard's mouth is broad open.
Now that we have successfully fatigued a cadger, it'southward time for the part nosotros're most excited about, and we're certain you are too! That is choosing the colors and coloring your drawing.
This is an enjoyable function because it allows yous to hone your ability to mix and match various colors.
The color of the lizards varies from bright, vivid green to deep, chocolate brownish. There are also lizards that have singled-out patterns and shapes imprinted on their peel, thus they may take more one color.
It's also important to take annotation of the species of lizards that accept the ability to modify colors, such equally the chameleons and the anoles.
You can opt to color your cadger drawing exactly every bit how they look in real life or use a unique gear up of colors. Either way, we remember your drawing will plow out beautifully!
We can't wait to see which colors would y'all pick for the lizard!
Your Cadger Cartoon is Complete!
It was a lot of fun learning how to draw a lizard, isn't it? All of our crafts, printable sheets, and tutorials are 100% free for y'all to use and savor.
And remember, nosotros are always updating our catalog of "How to Draw" guides, so make sure you go on checking dorsum to continuously relish all-new drawing tutorials just like this one.
What are you looking forward to drawing next?
One time yous've fatigued and colored a lizard, brand certain to evidence off the results of your hard work by sharing your masterpiece on all social media platforms!
While you're at it, don't forget to like our Facebook page besides. We accept more kids crafts and guides posted on our Facebook page that we call up y'all might enjoy, so brand sure you lot check those out!
We are excited to come across your incredible lizard drawing!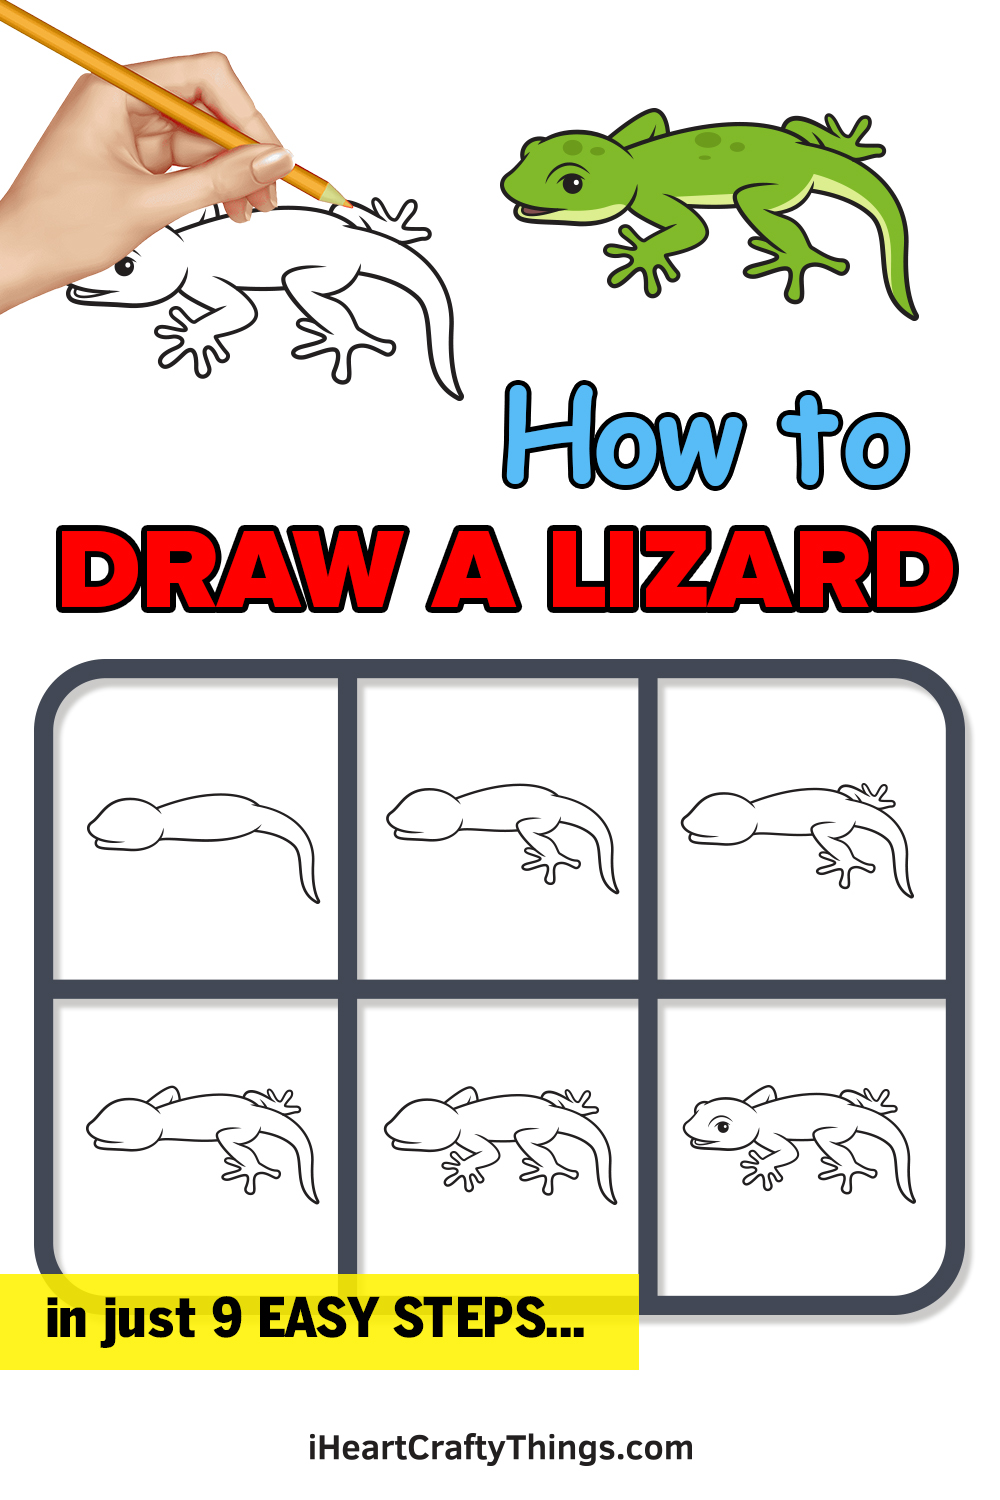

Source: https://iheartcraftythings.com/lizard-drawing.html
Posted by: inmansomper.blogspot.com
0 Response to "How To Draw A Horned Lizard Step By Step"
Post a Comment